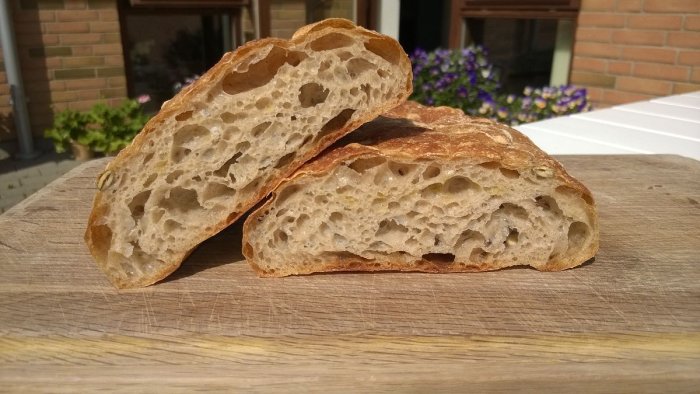
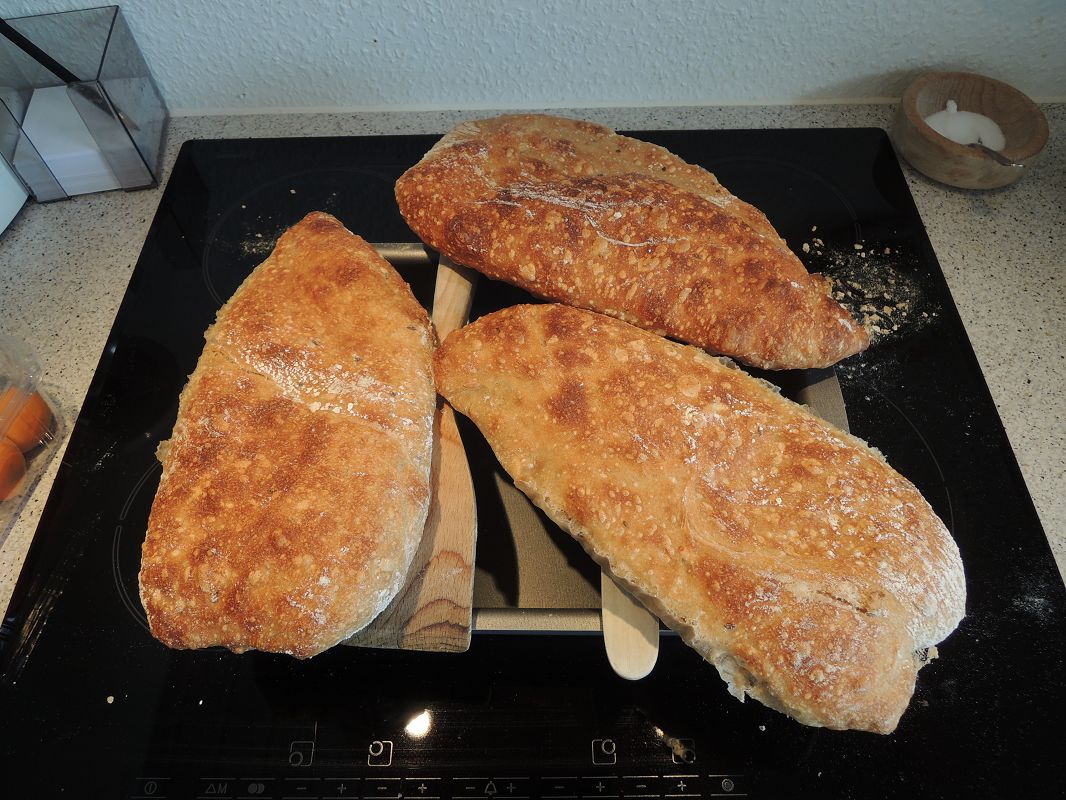
Fluffy bread with large holes
After 15 years of training, reading, trying techniques, asking my neighbor who is an educated baker, watching TV-shows, structured "Design of experiments", etc, etc, I finally succeded!!! Yummy!
Success factors
Succeding with this bread depends on the following four factors.
- The right flour.
- Access to the essential tools.
- The right recipe.
- Sufficient experience with the process.
The right flour
Flour is not just flour and you will most likely not find the right flour in the first attempts. The main factor is the flour's ability to contain water. Cheap flour from your local discount supermarket will most likely not be able to hold enough water. Baking with such flour will result in rather stiff bread as you need to add a lot more flour.
Basically you need two types of flour.
- Milled white wheat flour - this is approximately 60-75% of the bread and is what ensures a non-flat bread. For several years, I believed that high quality stone-grained whole wheat flour was the key ingredient, but it isn't!
- Stone-grained whole grain wheat flour - this is around 25-40% of the bread and the type of this determines the taste and roughness of the bread.
As mentioned, flour is not just flour. I buy mine in a high-end Danish supermarket (Brugsen) from Claus Meyer (famous Danish cook) at around 2£ / 4$ per kilo. You probably can't get this flour outside of Denmark, so I will give some general directions instead. In case you live in New York, you MAY be able to get it (or something equally good) by visiting the Great Northern Food Hall at Grand Central Station.
- Price equals quality - take the low price flour from a discount supermarket. Multiply the kilo-price by 8-12 and you have a rough idea of the price you need to pay to get some decent flour.
- Check your local high-end supermarket - it may have what you need. Alternatively, you probably need to go to a health shop.
- Buy organic - it costs but taste and baking-ability is often higher.
- Test your flour - see below.
A colleague of mine told me that the harvesting time of the wheat plays a tremendeous role (his brother was an organic farmer). Just a few days of unfortunate rain around harvesting time can significantly reduce the wheat's baking-ability. Thus, the quality of the flour is clearly the largest uncontrollable factor in bread-making, and you can't see the quality from the flour. :-/
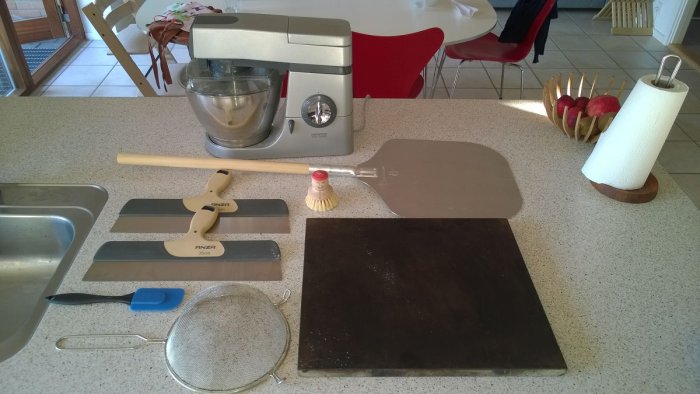
Essential tools
In my view you cannot bake breads like this without the following essential tools (listed in the order you use them): Please support my site and buy through my affiliate links below - it won't cost you extra.
- Tough mixer that can take 2kg of dough for 30 minutes without a meltdown. In Denmark, these costs around 250£ / 4-500$ for the cheapest one. Forget about kneading the dough in hand unless your torso matches Arnold Schwarzenegger around his early eighties period :-)
I have a Kenwood, but other brands like KitchenAid
will also get the job done.
- Silicone Rubber Baking Spatula
for taking the dough out of the bowl.
- Fine mesh strainer
for spreading a thin layer of flour on the table.
- Two wide dough spatulas for cutting and lifting the wet dough. Mine are from the local hardware store and are actually for scraping walls :-)
- Thin pizza shovel
, preferrably made of metal.
- Thick lava-stone - mine is about 2cm thick and takes 45 minutes to heat. I couldn't find a good one on Amazon - probably because they are quite heavy :-).
- A small baking brush
to dust off excess flour after baking.
I think the price for this adds up to about 400£ or 8-900$, which is quite an investment.
Recipe
| Ingredient | Amount |
|---|---|
| Cold water | 5 dl |
| Yeast | 5 g |
| Salt | 12 g |
| White wheat flour | 350-400 g |
| Whole-grain wheat flour | 150 g |
Process
Despite of a simple recipe, this bread is actually rather difficult to make as there are many uncertainties involved of which the largest is by far the flour. The second largest uncertainty is the steps in the process, where there are a several crucial points. The overall feeling through the process is... This will never be bread!!
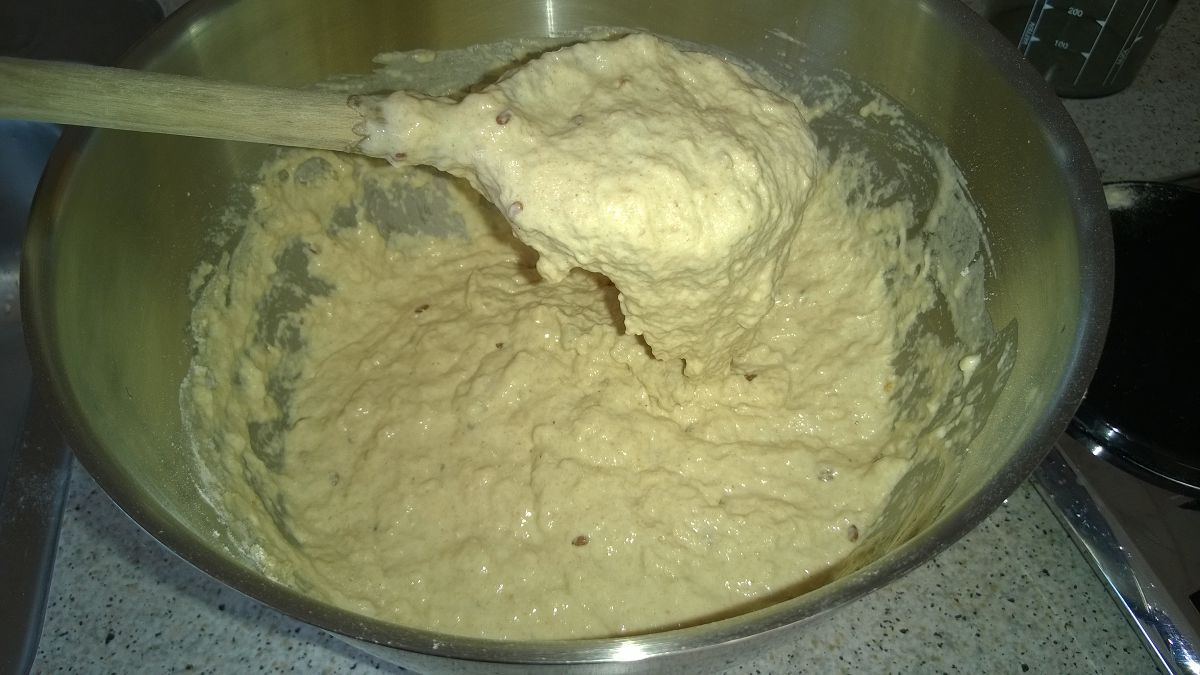
| Step 1 - mix ingredients (easy) Pour water and yeast into the mixer's bowl. Stir a bit until the yeast is dissolved. Add the other ingredients and stir a bit to make sure that the flour is not attached to the sides of the bowl. This is the first encounter with this will never be bread!! The dough is really wet like mud and does not stick together. |
 |
|
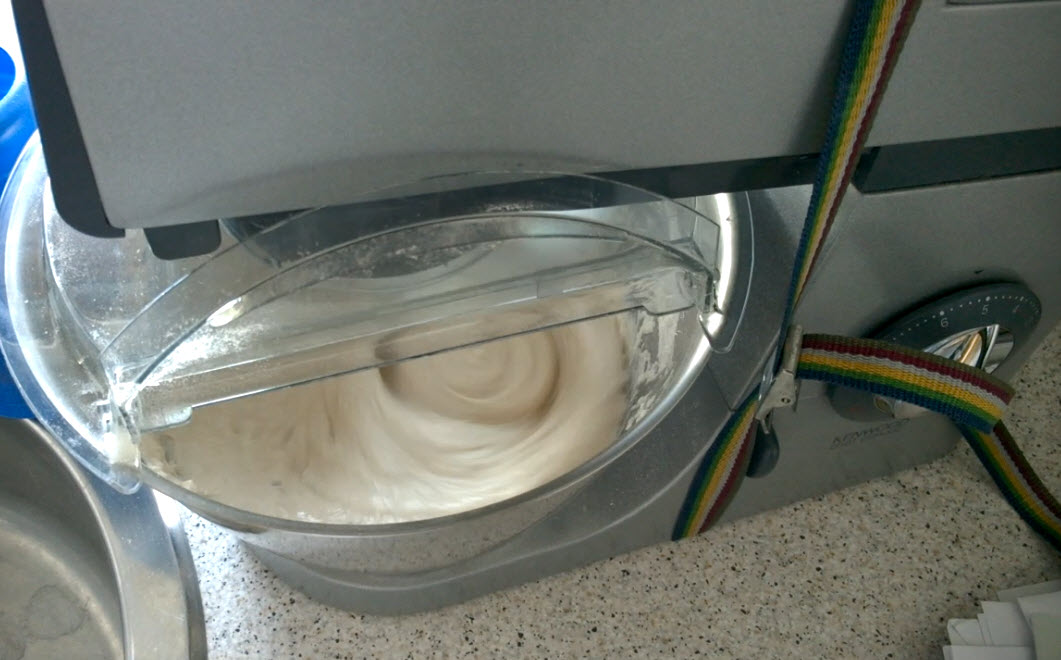
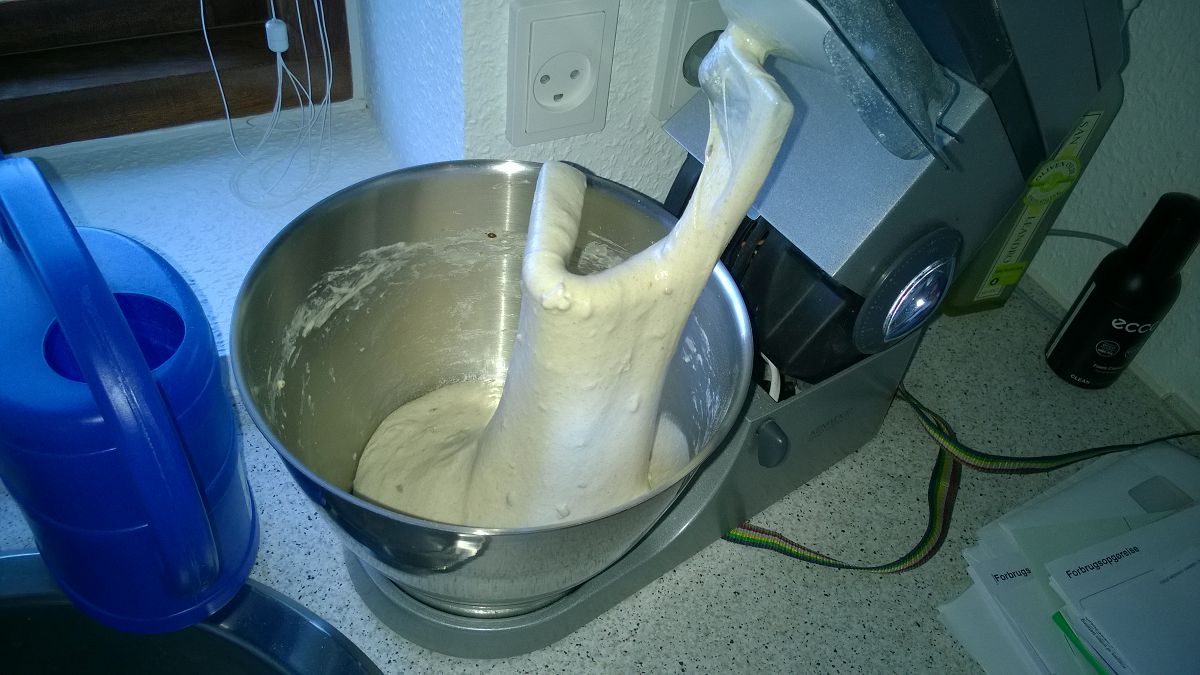
| Step 2 - knead the dough (very difficult) Max speed for 15-20 minutes or more until the dough detaches from the bowl. Not much will happen for the first 10-12 minutes. The dough will still look like a kind of mud or really thick gravy. Watch this small movie below. Suddenly, within a minute or so the gluten will be stretched sufficiently and it will form a kind of thin skin or film. It's a bit hard to explain, but watch this movie (19mb). Knowing when to stop is the tricky part. I usually wait until the dough detaches and then I mix a bit more. Mixing for too long will destroy the gluten structure and you will have a VERY flat bread as result. Looking back, this is certainly where I wasted most of the 15 years. I was impatient and added flour to make the dough gather around the rotating mixer. The result was stiff bread. I also didn't mix at full speed as it is a rather noisy process. Notice the strap on my mixer holding the top part down. A sign of wear-out indicating that it has been used intensively. I guess you can picture what happened the first few times my mixer opened by itself at full speed with a wet dough... :-) |
   |
|
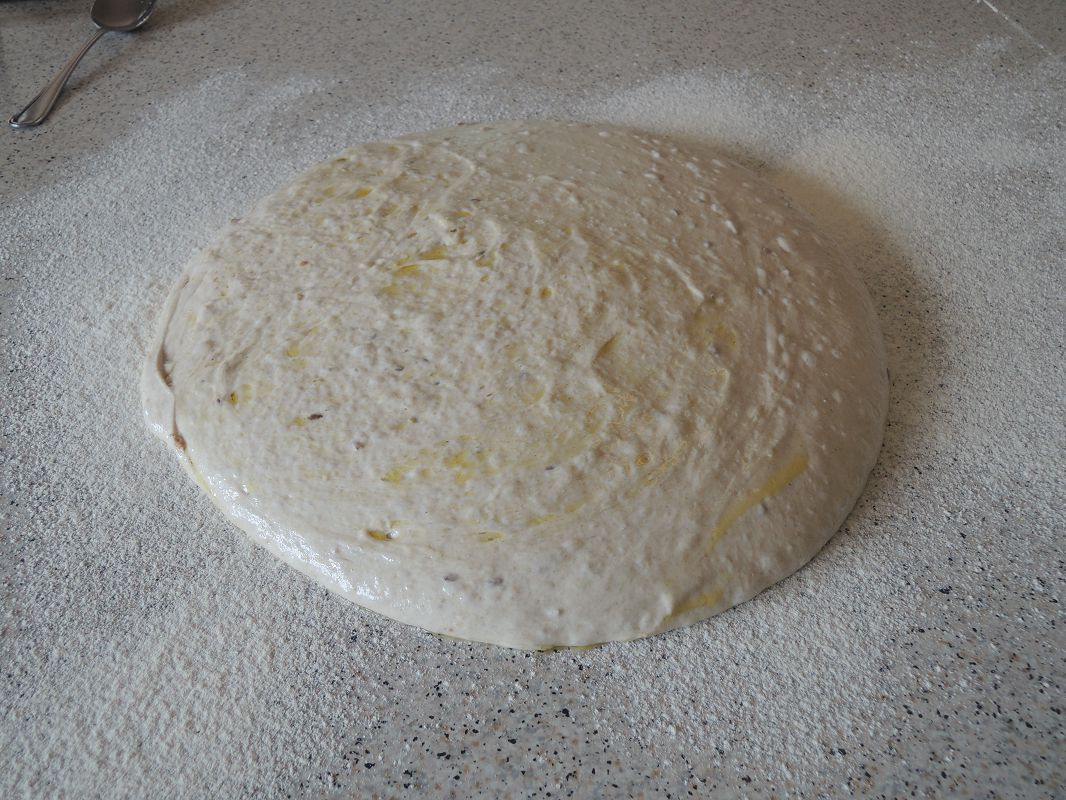
| Step 3 - Rise dough in fridge (fairly easy) Pour a bit of oil on your rubber spatula and wet the inside of a bowl with a bit of oil - just enough to form a non-stick film on both. Gently scrape the dough from the mixer bowl to the oil-covered bowl. It is important that you don't cut the dough as it will disturb the gluten-structure. Hence, the dough should be scraped out in one piece. This movie displays how to scrape. Cover the bowl with plastic film and put it in the fridge. The dough should rise for at least 8-10 hours or more. It is not so important how long, so 20 hours is also ok. It is also possible to skip this step, but then you should add 25g of yeast and allow the bread to rise at room temperature for a couple of hours. The bread will have a shorter after-taste and get dry faster. |
||
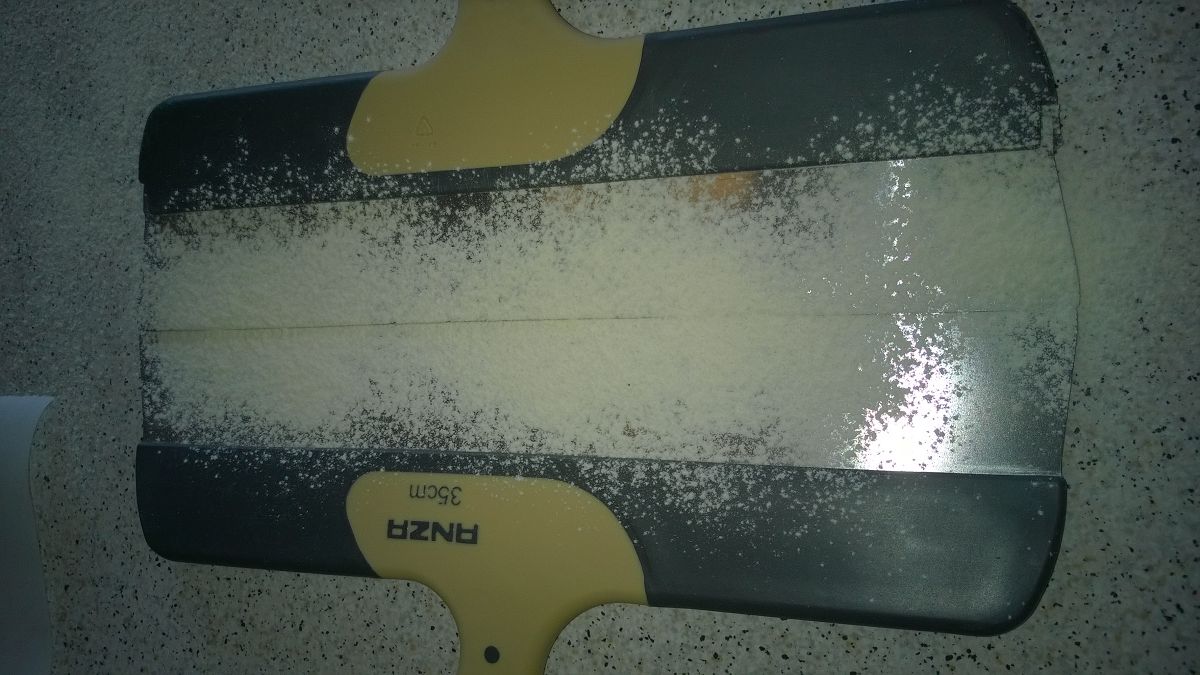
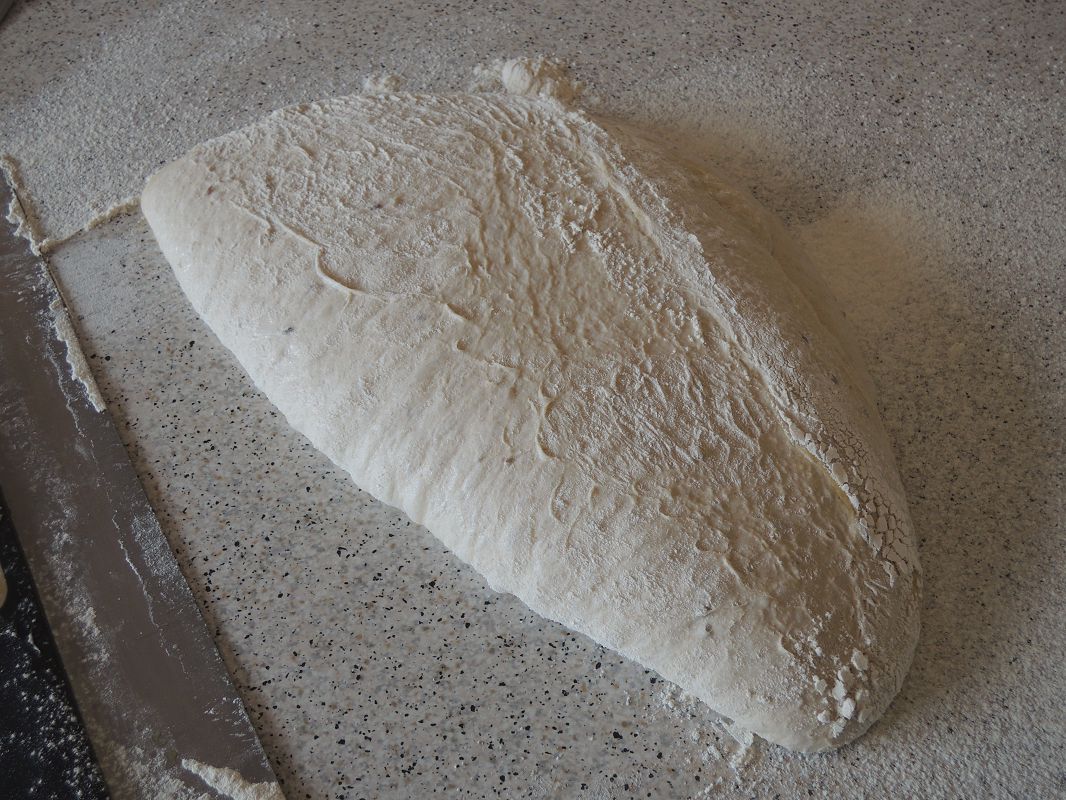
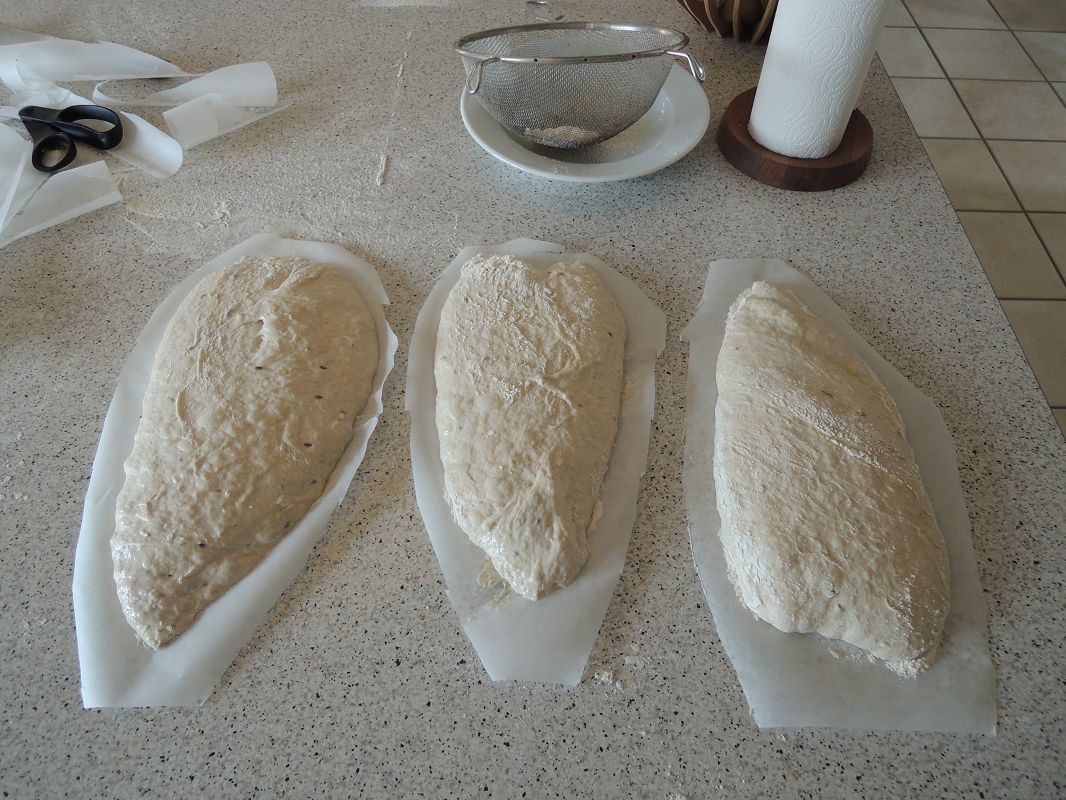
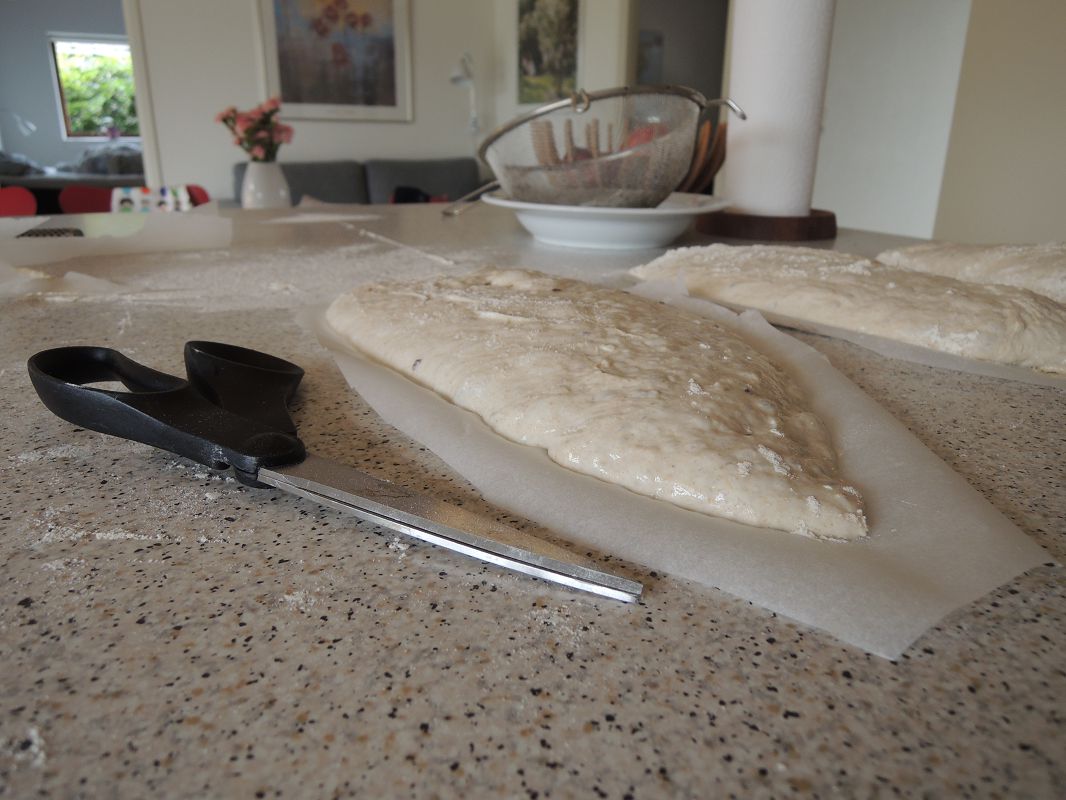
| Step 4 - Prepare for baking (moderate) Take the dough out of the fridge about an hour before you want to bake it. Let it "wake up" a bit one the kitchen table. Place your lava stone in the oven and turn it on at 250 degree approximately 45 minutes before you want to bake the bread. Take a deep plate and place your strainer on it. Pour two table spoons of flour on it and spread a thin layer of flour on the table. Prepare your broad spatulas with a cover of flour and also prepare 2-3 sheets of non-stick baking paper. Add oil to your rubber spatula and gently scrape out the dough onto the flour-covered table. The movie below displays how to scrape. A look at the 3-4 cm high and very flat dough leaves you again the feeling - this will never be bread! After the dough is on the table, it is time to flip it (optional). This procedure has two effects. First, the bread will rise higher. Second, it will have a nice cover of flour. Flipping is done with one of the broad spatulas. This movie below shows how to flip with one of the broad spatulas. Last preparing step is to cut and move the dough onto the 2-3 pieces of baking paper. The dough is really sticky so I do the following. Take one of the broad spatulas and a knife also dusted with flour. Gently cut the first loaf from the dough by placing the spatula and cutting at the back with the knife. Take both spatulas at each side of the loaf and move it to the paper. This procedure takes a bit of practice. Final step is to cut excess paper with a pair of scissors. |
     |
|
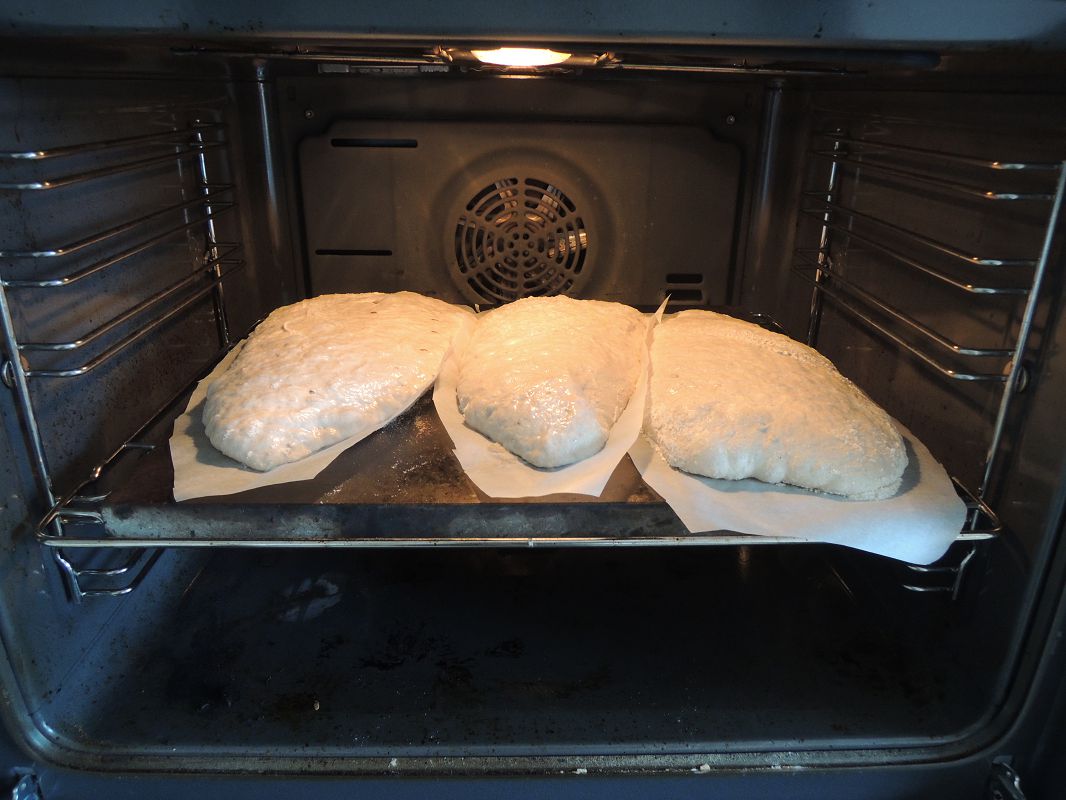
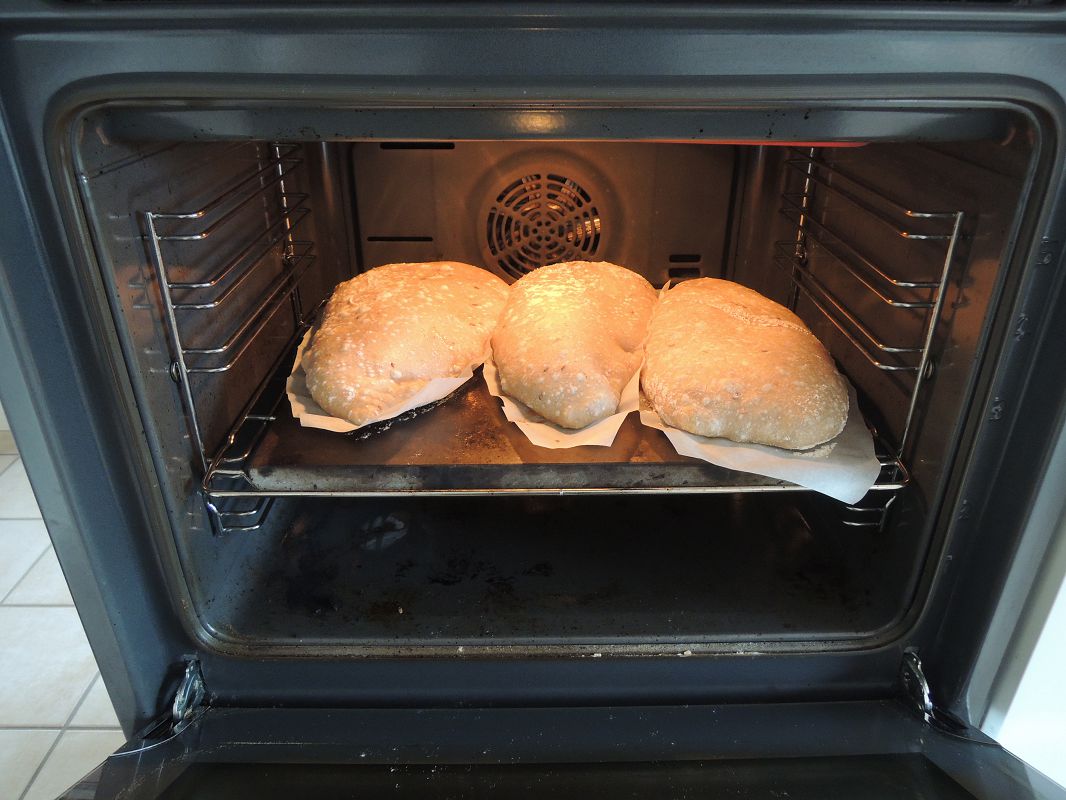
| Step 5 - Bake! (relatively easy) Ok, after nearly two days of this will never be bread! we are finally ready. It is a bit hard to fit three breads into the oven (that's why I cut the baking paper), so maybe start with two until you get the feeling of it. Dust your pizza shovel and move one of the breads onto it. Move it to the oven and fit a second bread in. Turn the heat down from 250 degrees to 225 degrees and wait for about 25 minutes. Temperatures and time may vary from oven to oven, so these figures are mainly meant as a guideline. After about 6-7 minutes the magic starts and we can (hopefully) say This will be bread! Final step is to take them out and let them cool of. I use two wooden spatulas and an oven pan. |
  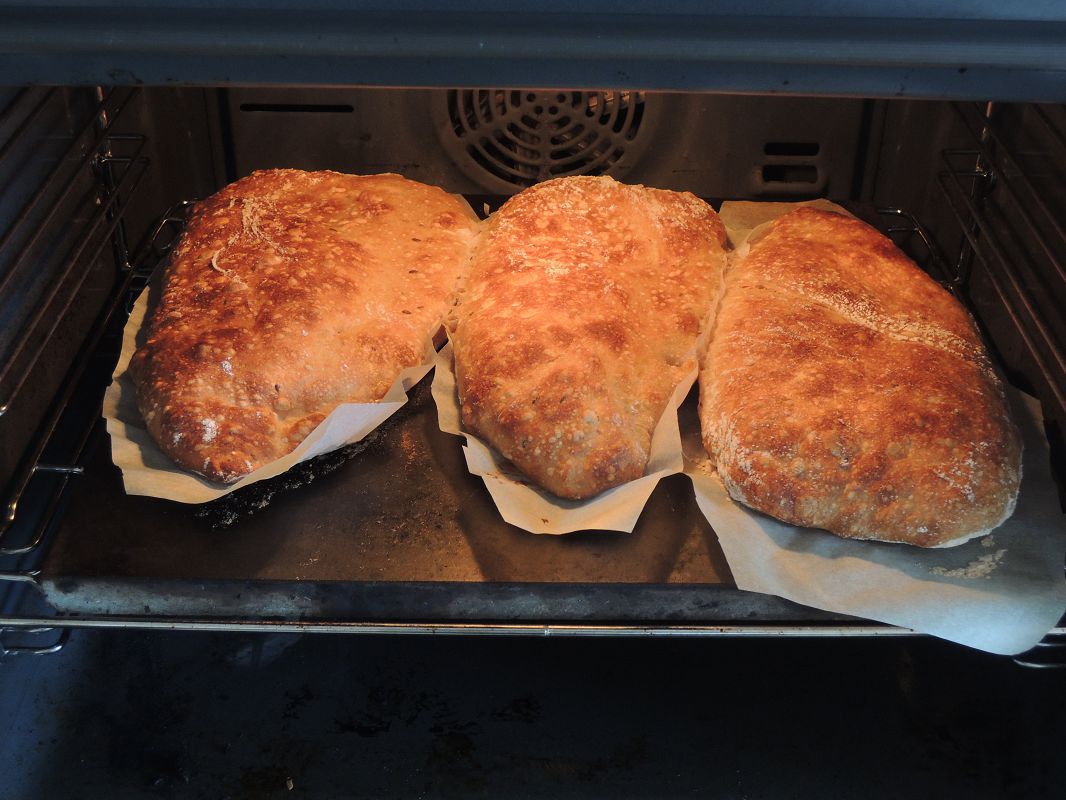  |
Mistakes and misbeliefs during those 15 years of experimentation
- Impatience when kneading - this is clearly where I wasted most time. Watching the mixer for a couple of minutes or five where absolutely nothing happens made me add a bit of flour then another bit and so on.
- Rough bread is made from roughly grinded whole-wheat flour - NOPE!!! It is made from 60-75% white wheat flour and 25-40% roughly grinded special wheat flour.
- Not following the recipe to the point - I actually had the recipe for a long time, but I relied too much on my many years of "experience".
- Not using the right flour - there can be a tremendous difference between types of flour.